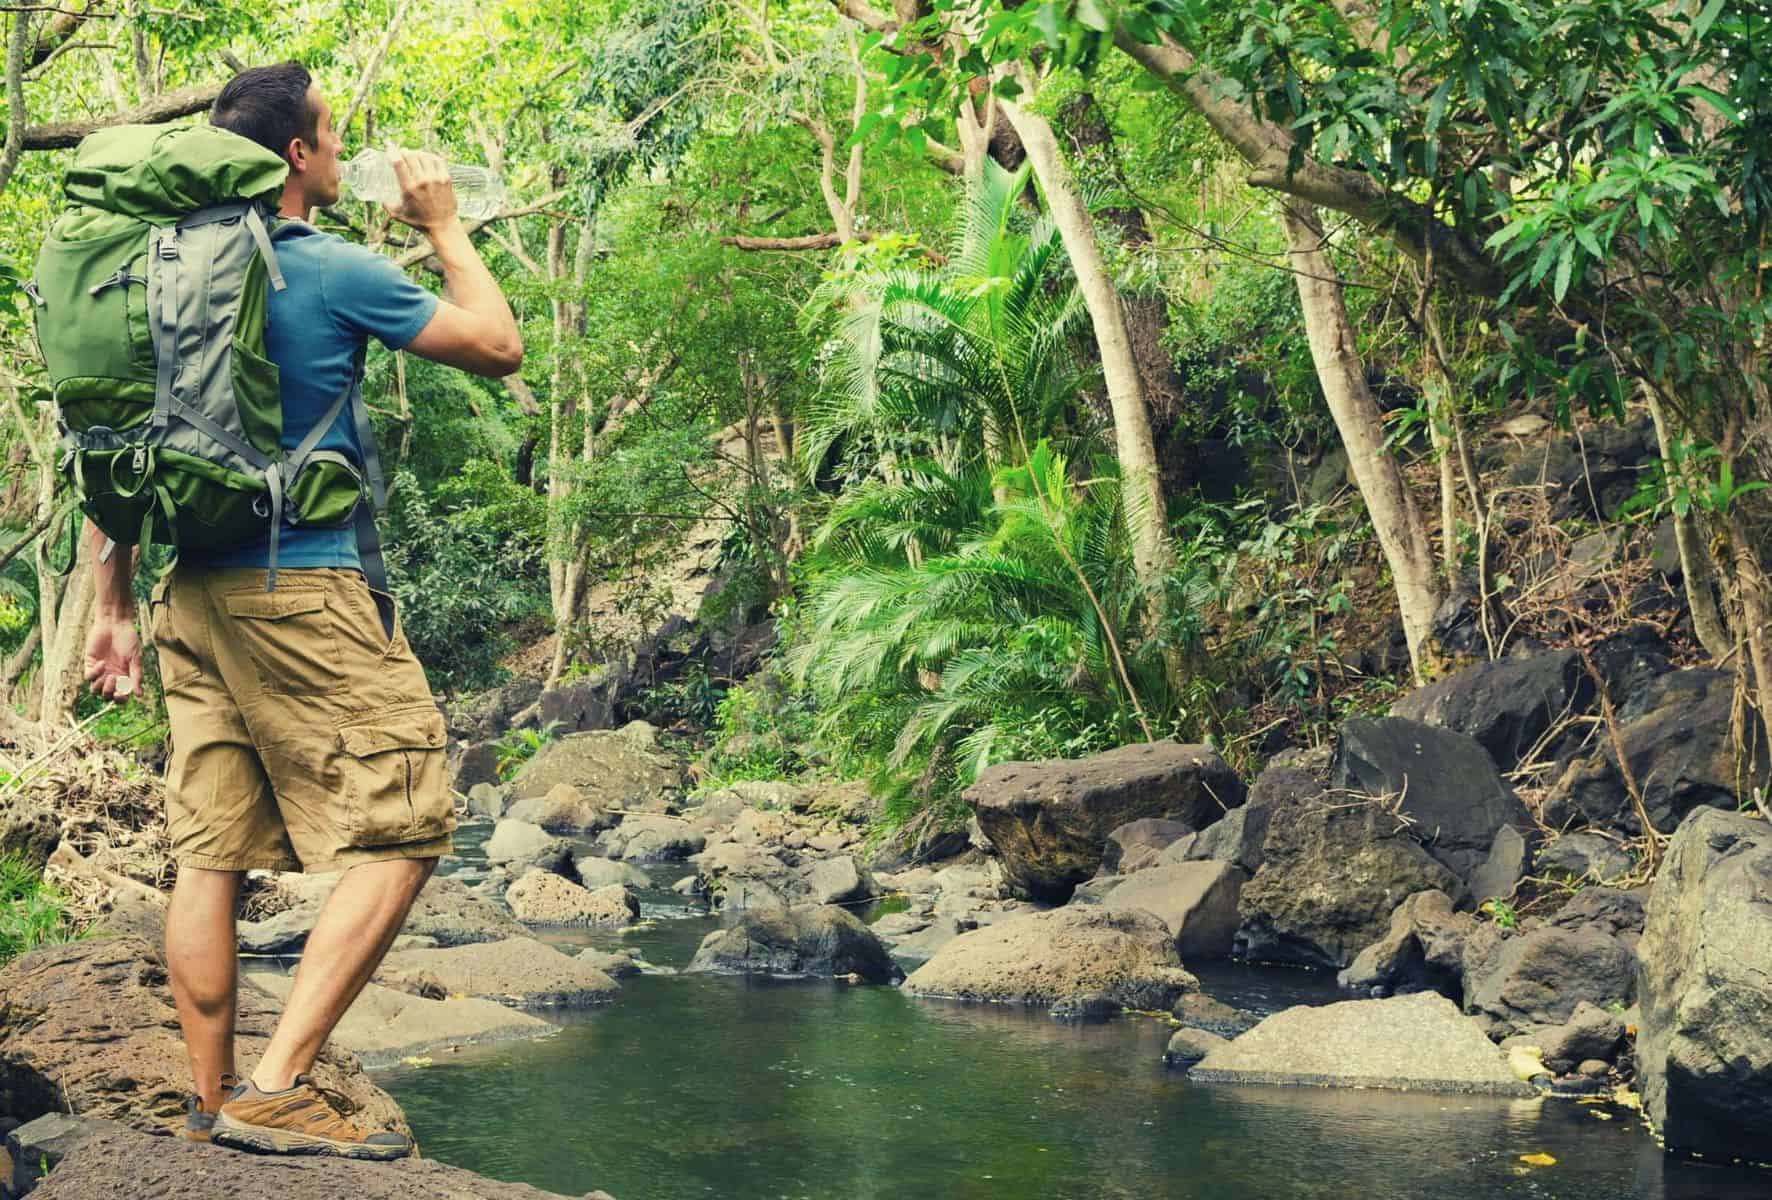
The cells in the human body are greedy H2O-guzzlers and need their supplies to be well stocked every hour of every day. This natural, metabolic need is only amplified with activity outside. Despite its importance, I continue to pass large numbers of hikers on the trail who have forgotten or chosen not to carry any H2O.
Don’t risk your health and enjoyment while venturing into wild places. Check out our tips below for calculating the correct amount of fluids to take on a hike, as well as the best methods for carrying it. Ensuring that you will stay hydrated should be a primary planning concern for every adventure.
Below, we explain how it’s done and provide a simple answer to the question “How much water for hiking?”
How Much Water To Bring Backpacking and Hiking?
This is akin to asking someone how much it costs to buy a car or a house, where the only reasonable answer is ‘it depends’. How much water you will want to bring along for a hike will depend on the length of your journey, the weather, your level of exertion, water availability along your route, and the personal hydration needs of the hiker.
Familiarize yourself with these factors and accept the reality that your answer to the above question will, likely, be different for every trip. This is the best way to ensure that you stay properly hydrated and carry enough water on every hike.
How Long Will You Be Hiking?
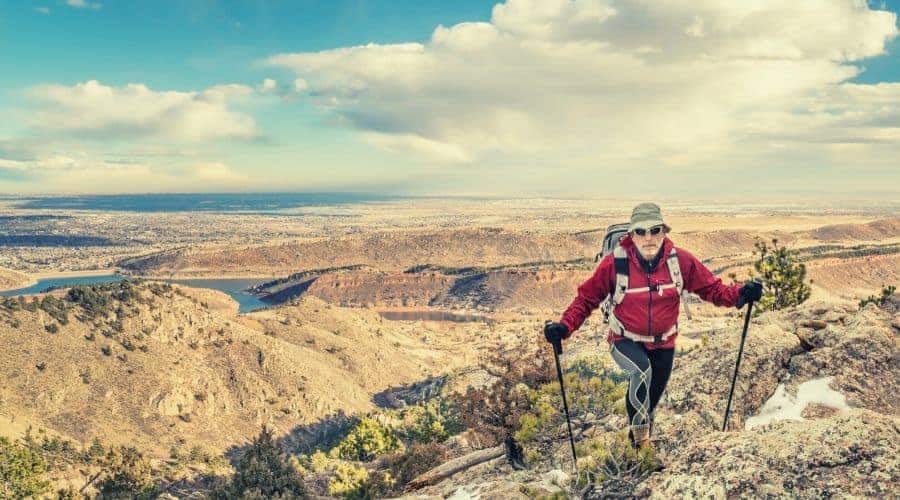
This should be your first consideration in determining your water needs for an upcoming hike. Remember to address, not just the overall mileage of your intended route, but your expected time to complete it. Some routes may be short in mileage but still require a long time to complete because of their rugged terrain or steep change in elevation.
A good starting point for your time calculations for new hikers can be 30 mins/mile plus 30 mins/every 1,000 ft. of elevation gain. For example, you could reasonably expect a 5-mile hike that climbs 1,500 ft. to a mountain summit and back to take you 3 & ¼ hours to complete.
Keep in mind that any standardized method for calculating pace while hiking is only a generalization and that your actual pace may be, drastically, different based on your experience and current level of fitness. If you’d like a bit more detail about estimating your hiking time, check out this handy hiking time guide.
1 Cup Per Hour Rule
Once you’ve calculated a good estimate for how long you’ll be on the trail, consider drinking at least one cup of water every hour you are hiking. Warm weather and/or a high level of exertion, of course, mean you’ll need to drink more. And if you like to be a little more precise with measurements, aim for one liter of water per every two hours of hiking.
Level Of Exertion
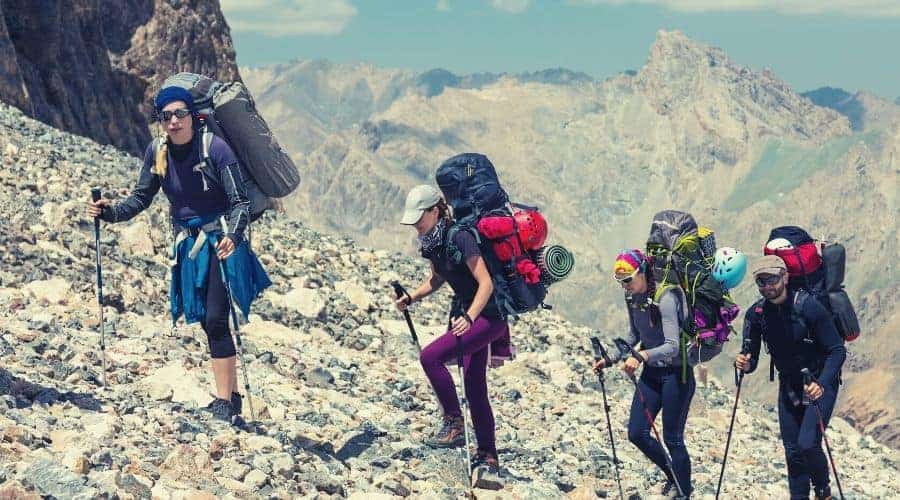
The harder you work, the more you sweat. The higher your sweat rate, the more body fluids you’ll need to replace. It’s a simple formula that gets overlooked far too often. If you will be pushing your physical limits, say on a trail run or a rugged hike with a time goal, consider adding to your standard water needs.
For example, I carry less water when guiding a slow group of beginner hikers than I might for the same route with more experienced friends who will be pushing harder. Ultimately, listen to your body’s needs on the trail and plan ahead with extra water if you are inexperienced or attempting any hike that you expect to challenge you significantly.
Weather
Always check the weather forecast before deciding how much water to bring. Typically, our bodies will need more water in hot and dry conditions, where sweat is quickly lost to evaporation.
These conditions are responsible for numerous cases of dehydration, heat exhaustion, and other heat-related illnesses every year. It can be easy to forget about hydration when you don’t have the constant beads of sweat on your skin as found when hiking in humid areas.
Your Personal Metabolism And Absorption Rates
The amount of water you need to carry in your water bottle or hydration pack on any hiking trip also depends on your body type. Everybody is different. Learn to recognize when your body is dehydrated and accept the reality that your water intake requirements might be different than the friends you are hiking with.
How Much Water for Hiking?: The Dangers Of Dehydration
It’s so easy to get lost in the beauty and fun of a good hike that we, often, forget to drink as much as we should. Proper hydration is key to our bodies ability to manage heat, altitude, and cold, and the consequences of dehydration go far beyond feeling thirsty.
Not only does dehydration bring possible, severe complications itself, but it is frequently listed as a contributing factor to numerous other ailments that could land you in trouble. Familiarize yourself with the following signs/symptoms of dehydration and be sure to, always, listen to your body:
Signs & Symptoms of Dehydration
- Thirst
- Headache, fatigue, weakness, irritability, lightheadedness
- Diminished urine output
- Dark or smelly urine
- History of inadequate hydration
- May, also, display signs and symptoms of shock
How to Carry Water While Hiking
Once you get a feel for how much water your body needs for a hike, you’ll have to choose how to carry it with you along the trail. There are numerous strategies and gear options for carrying water.
Thanks to our many miles on the trail, we’ve used them all at some point. To help you better determine which strategy is right for you, we’ve summarized the key differences among popular water-carrying strategies below.
Nalgene (Hard-Sided, Plastic Bottle)
Just as the brands Kleenox® and Chapstick® have become synonymous with describing tissues or lip balm, Nalgene® has become the outdoor aficionado’s way of describing any hard-sided, plastic bottle or water container. These are a popular option for folks spending time outdoors and a great way to carry your water.
Advantages
- Easy to refill
- Measurement indicators are helpful when cooking
- Incredibly durable!
- Easy to clean
- Available in 1-liter or 1.5-liter bottles
Disadvantages
- Bulky – can be difficult to fit inside a fully stuffed pack
- Weight – A hard-sided, plastic bottle will always outweigh its collapsible counterpart
- Size of the bottle does not adapt to the changing quantity of water within it
Buying Advice
We love our Nalgene bottles on moderate trails where we don’t feel like dealing with the cleanup required of collapsibles and where the weight penalty is of little concern.
We’ll also bring it on trips where we’ll be using our Steripen for water treatment since the agitation of the water is easier with a wide-mouth bottle. Match your bottle to your personality with over 71 color and design options and, of course, be sure to plaster your bottle with only the coolest of stickers!
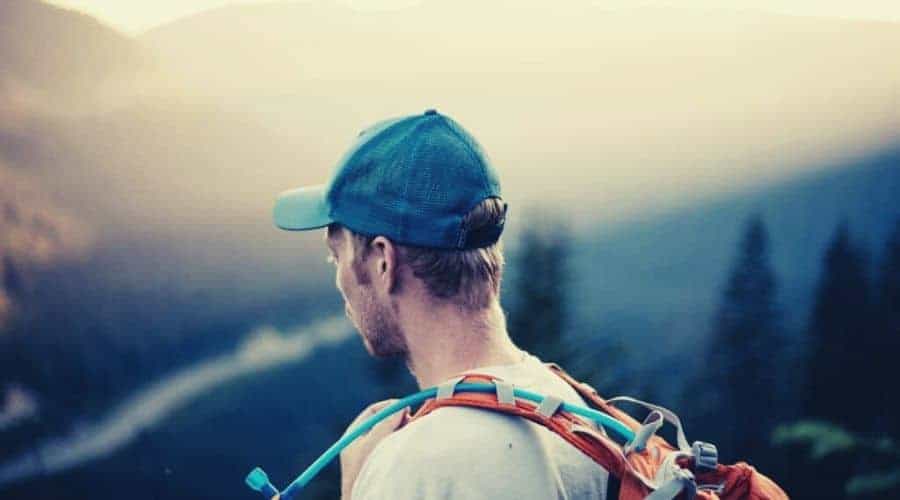
Reservoirs & Bladders
Hydration Bladders (check out our guide to the best hydration bladder), are likely, the most popular option for carrying water inside a backpack while out hiking or backpacking. Many versions feature an attached hose and mouthpiece, which make drinking while moving especially convenient.
Advantages
- Best system for drinking without having to stop or take off your backpack
- Increased capacity – most can hold between 1.5 & 3 liters of water
- Convenient pack storage thanks to their flexible casing and compatibility with purpose-built hydration sleeves seen in most backpacks designed for outdoor use
Disadvantages
- Difficult to refill from natural sources – You will, often, need another bottle in order to pour water into the reservoir
- Water in the hose is more susceptible to freezing if hiking in cold temperatures
- Extra care must be taken during transport and anytime your pack is set down to avoid accidental compression of the mouthpiece and the subsequent draining of a full reservoir
- They are a pain to clean and dry out
Buying Advice
A hydration bladder is my preferred strategy for carrying water during most hikes, backpacking trips, and trail running adventures. I find myself hydrating more frequently when I can easily sip from the mouthpiece resting right at my chest, than when I must stop and remove my pack. For backpacking trips, I will usually combine a 3L reservoir with, either a Nalgene or collapsible bottle.
Collapsible Bottles
These are the newest options for toting H2O in the backcountry, and they have quickly become one of my favorites. Insanely lightweight, easy to pack, and only taking up the space that is necessary (they get smaller as you drink the liquid inside) make collapsible bottles perfect for just about any adventure outside.
Advantages
- Lightest weight option for carrying your H2O
- Easy to pack and cram in tight spaces within a backpack, kayak, canoe, bicycle pannier, etc.
- Easy to fill from wild water sources
- Adaptable to the amount of liquid inside – easier to store as you continue drinking from it
Disadvantages
- Can be difficult to drink one-handed
- Durability
- Difficult to clean/dry
Buying Advice:
I, seriously, love these things and they are my go-to whenever I need to carry only 1-2 liters of H2O. I’ve been blown away by, not just their performance but their durability, which has far surpassed my expectations.
They are less durable than a hard-sided bottle, thus the classification as a disadvantage above, but I could just as easily argue that their durability is a positive. I’m still going strong with the same three Platypus collapsible water bottles more than three years after, originally, purchasing them.
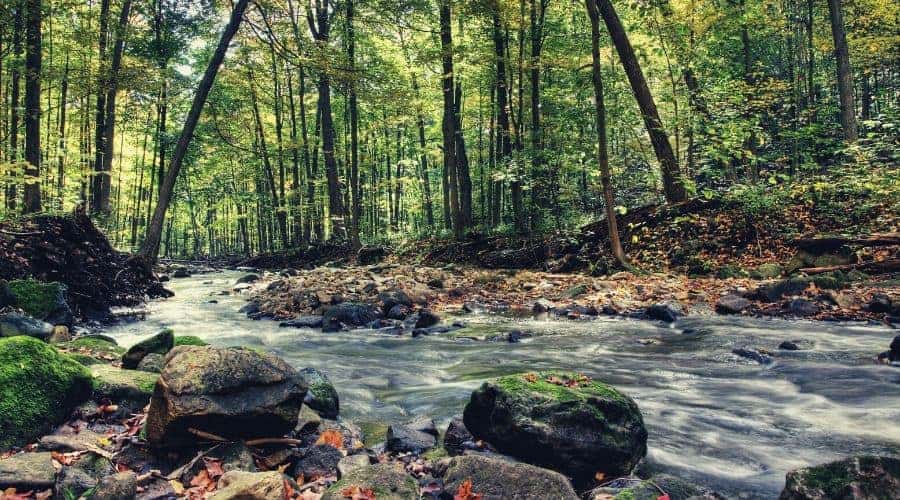
Finding H2O Along Your Route
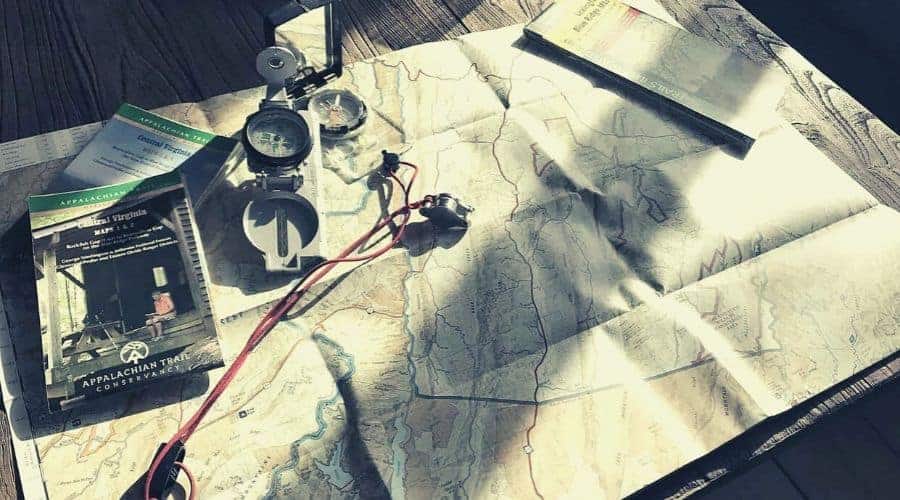
Mapping Your Intended Route
Get into the habit of referencing your intended hiking route on a quality topographic map before finalizing your plans for carrying H2O. If your hike crosses numerous streams or other sources of H2O, you may be able to carry less of it, saving noticeable pack weight and space.
Do Your Research
The internet is an amazing tool. Take advantage of it! Whether it’s through your smartphone, your laptop, or at your local library, finding internet access is not a challenging endeavor these days. A basic search on the area you will be hiking through is, often, enough to glean critical information regarding access to H2O along your intended trail.
There are numerous instances where a trail will appear to cross a stream on a map, yet be dry and unreliable for many months of the year. This is the exact kind of information that can be gleaned online from locals or others who have visited the area before you. Also, don’t forget about local guides and outfitters who can be great resources for your planning.
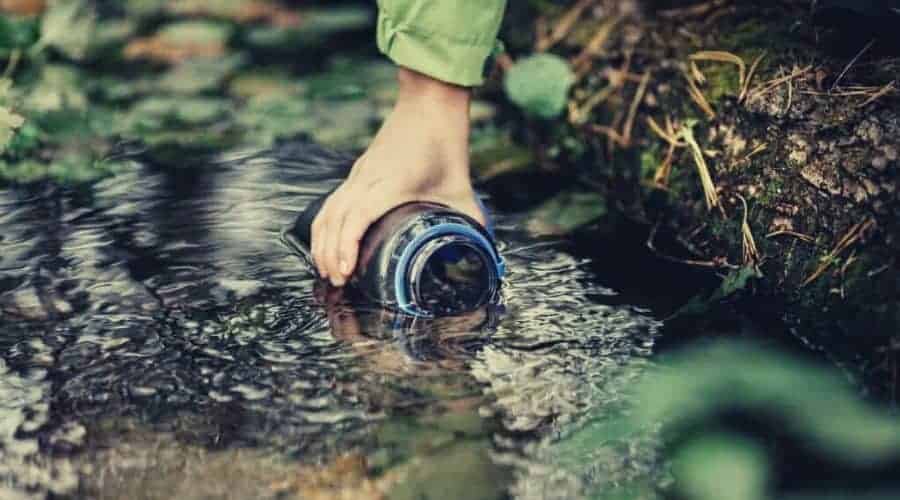
Drinking From Natural Sources
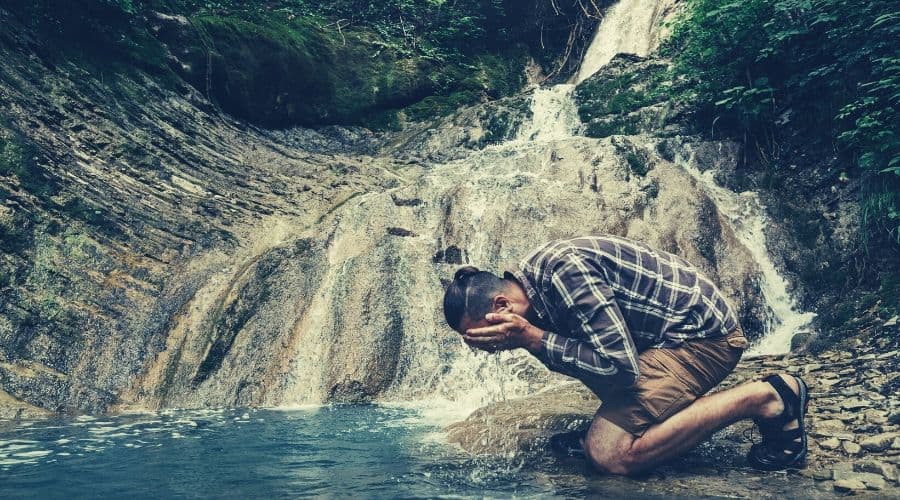
In many environments, you will pass an opportunity to drink and refill your H20 supply at some point during the hike. Natural springs, streams, and small lakes are all examples of that opportunity.

Be warned: Regardless of how clean and clear that mountain stream appears, the possible consequences of drinking straight from the source are almost never worth the risk.
Even clear H2O can contain harmful bacteria, viruses, and protozoa that can quickly ruin your trip. Outside of an emergency, you should always treat water retrieved in the backcountry before you drink it. This can be done with water purification tablets or some of the other methods below.
Ways To Filter/Treat/Sterilize Your Drinking Water
- UV Filters – Utilizes concentrated UV light to kill 99.99% of harmful viruses, bacteria, protozoa
- Physical, pump-style filters – Water is forced through a small, fibrous filter containing microscopic holes to eliminate sediment and bacteria
- Straw-like water filters
- Boiling
- Gravity feed filters – Hang and let your H20 drip through the filter. Can process a lot of water quickly.
- Chlorine dioxide tablets
- Iodine tablets
Additional Tips
Keep Your Reservoirs And Bottles Clean
Bacteria loves moisture. If you never clean out or fully dry your hydration reservoirs and bottles before storing them, you’re asking for mold issues. Nobody wants to drink through a moldy mouthpiece so keep your containers clean!
Easy clean-up trick: Using a small, electric aerator (you can find these in a pet store near fish tank supplies) is a great way to dry out your containers in ¼ of the time compared to hang-drying only, where it can be tough for air to reach the far corners of your reservoir.
Keeping Your Bottles And Reservoirs Insulated
Consider an insulated sleeve if you are planning to hike and camp while in extreme cold. You can, also, purchase insulating sleeves for the hose of your hydration bladder, which is most susceptible to freezing.
Remove The Air From Reservoir Tubing
Once you have finished sipping from the mouthpiece on your hydration reservoir, blow back into it. This will push any remaining liquid back into the bladder and reduce the likelihood of any freezing within the tube.
This is also a great way to avoid those warm sips that you get during summer where the liquid left in the tube is significantly warmer than what is in the bladder.
Do More Than Carrying Adequate H20
Even if you are drinking enough water, your body might not be able to perform at its best in high temps. Here are a few tips to help:
- Bring a few sports drinks or electrolyte tablets will help keep your sodium levels and energy levels up throughout your day on the trails.
- Start hiking early in the day to make the most of cooler temps.
- Carrying one liter of water for every 2 hours of hiking isn’t practical on all-day hikes. Invest in a water filter or purification tablets so you can take H20 from wild water sources and keep down the weight.
- Pre-hydrate at home before your hike to give yourself a head start
- On a short day-hike
- Stow your water bottle inside your pack so you’ll be drinking cold water, not hot, come drinking time
