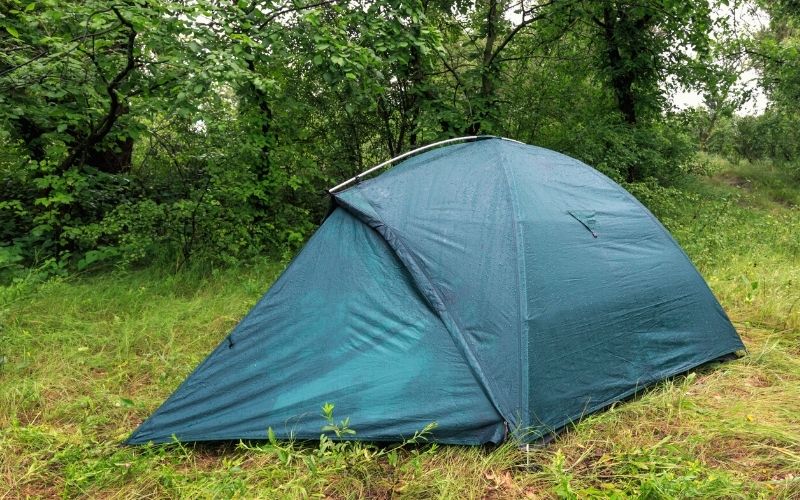
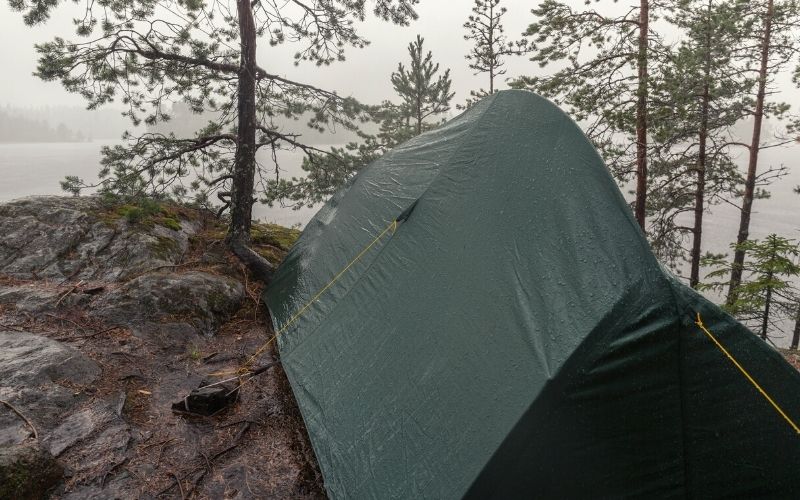
After a certain number of outings, any tent can start to lose a little of its capacity to fend off the wet stuff. The good news, however, is that with a little bit of effort, some waterproof spray, and some seam tape, you can restore your tent’s waterproofing capacity to its former glory.
So before you head to the store to get a new shelter for your next camping trip have a look at our short guide on how to waterproof a tent.
From using waterproofing spray to how to seal seams your tent isn’t ready for the scrap heap yet!
Re-proof a Tent in Three Easy Steps
The main cause of leaks in any tent is the deterioration of the manufacturer’s wet weather treatments to the tent seams, DWR coating, and/or the waterproof polyurethane or silicone coating.
Over a camping season in the great outdoors your shelter will be subjected to a variety of conditions that can lead to the deterioration of tent fabric. Among the obvious are dirt and oil mechanically degrading the material, along with repeated bouts of rain and wind battering the surface.
Lesser thought of is prolonged exposure to harmful UV rays that can cause sun damage to the fabric making it less water-resistant. For this reason, waterproofing sprays typically also provide UV protection for any outdoor gear you treat them with.

Before setting out to restore your tent’s waterproofing capacity it’s important to clean the tent with cold water, mild soap, and a soft sponge. This will make sure there are no contaminants or corrosives (muck, sand, sap, animal scat, suncream, etc.) that might hinder the effectiveness of re-proofing.
After leaving the tent to dry (ideally on a line), then you’re ready to get down to the business of re-proofing.
1. Reapply the Silicone or Poly-urethane Coating
Polyurethane (PU) coatings used for modern tent floors and fly sheet can be prone to chemical degradation, meaning that the PU coating simply dissolves over time. This is usually discovered when the coating starts flaking on the tent’s interior.

Silicone coatings are far more durable and re-proofing is rarely necessary. However, if you have subjected your shelter to a fair amount of rough treatment you may begin to notice smaller leaks in the tent fly and flooring.
If this is the case then to start waterproofing:
- Collect a rag, rubbing alcohol/surgical spirit, and the correct type of tent sealant (a silicone sealant for silicone-treated fabric and a PU sealant for polyurethane-coated fabrics).
- Lay your tent floor and rainfly out on a flat surface and remove the flaking coating by scrubbing it off gently with the alcohol and rag (use an abrasive sponge if the rag isn’t working).
- Apply a thin coating of the new sealant as directed in the product instructions.
- Wash your hands thoroughly – all tents use flame-retardant chemicals that have been linked to several damaging health effects.
- Leave the new coating to dry and “cure” for a minimum of 24 hours before stowing your tent back in its stuff sack.
2. Renew Your Tent’s DWR Coating
A tent’s DWR (Durable Water Repellent) coating is what allows it to shed water upon impact and provides the first line of defense against precipitation. This coating is less durable than waterproof PU or silicone coatings and usually requires renewal after every 10-15 outings. Thankfully, however, the process is very simple.

If you notice that the coating no longer makes water bead up on your rainfly:
- Collect together a rag or towel, a bucket of tepid water, and a bottle of waterproofing DWR spray such as Gear Aid Revivex or Nikwax Tent and Gear SolarProof.
- Pitch your shelter and spray down the fly with water.
- Spray the waterproof treatment evenly over the outer fly exterior.
- After several minutes check to see if there is any excess coating observed on the surface, if so wipe it off with a damp cloth.
- Leave the tent to dry thoroughly before returning it to its stuff sack.
3. Re-seal Your Tent’s Seams
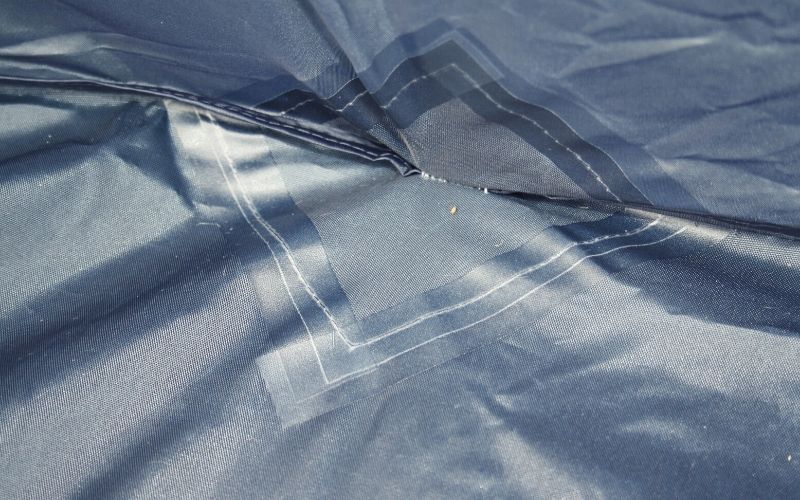
Most modern tents, aside from perhaps budget models, have their seams sealed. However, the seams are still a tent’s greatest points of weakness. Mainly because they have hundreds of tiny needle holes in them created in the process of stitching two pieces of fabric together. If you discover your tent leaks, this is the first place to check.

The tape or treatment used to create the “seal” on all the seams requires occasional renewal over the tent’s lifespan. Here’s how it’s done:
- Collect your kit: a rag, rubbing alcohol/surgical spirit, seam sealant (silicone sealant for silicone-treated fabric and PU sealant for polyurethane-coated fabrics).
- Make sure your tent is completely dry and the seams free of dirt.
- Pitch your rain fly inside out or lay it out on a flat surface with the inner side exposed.
- Gently remove any flaking tape, leaving any intact tape in place.
- Wipe down each seam with your rag and the alcohol.
- Using a small brush apply a thin layer of sealant to the seams.
- Allow the sealant to dry completely before packing your tent away (usually 10-12 hours).
How to Waterproof a Tent: Check! Let’s get Camping!
Now you know how to make your tent waterproof again you’re ready for your next outdoor adventure!
How did you like our article? If you have any questions, comments, or any more tips of your own for waterproofing a tent, drop us a line in the box below. And if you’d like to share this post with your friends, please do!

